In this tech and AI time so much of our lives happens online, keeping your data private has become a major concern. Whether you’re an individual or part of an organization, the idea of sending sensitive information to external servers—especially those located in places like China—can feel unsettling. If you’ve ever worried about who might have access to your data or where it’s being stored, you’re not alone. That’s exactly why I’ve put together this guide.
In this blog, I’ll show you how to set up your very own local AI system using DeepSeek R1 distilled models. The best part? Once everything is up and running, your data stays right where it belongs—on your computer.
No need to send it off to some distant server, and no internet connection required after the initial setup. It’s like having your own private AI assistant that works entirely offline, keeping your information safe and secure.
Why Choose a Local AI Setup?
Many AI tools rely on cloud-based services, which means your data is sent to external servers for processing. This raises concerns about privacy, especially when dealing with sensitive information.
By running AI models locally, you retain full control over your data, ensuring it never leaves your computer. This setup is perfect for developers, researchers, or anyone who values privacy and wants to leverage AI without compromising security.
PC/Laptop System Requirements to Install DeepSeek
Minimum System Requirements
| Component | Specification |
| Operating System | Windows 10 (64-bit), macOS 10.14+, Linux (Ubuntu 20.04+) |
| Processor | Intel Core i5 / AMD Ryzen 5 (4 cores, 2.5 GHz or higher) |
| RAM | 8 GB |
| Storage | 10 GB free space (SSD recommended) |
| Graphics Card | Integrated GPU (Intel UHD Graphics 620 or equivalent) |
| Internet Connection | Stable broadband (5 Mbps or higher) |
| Browser | Latest version of Chrome, Firefox, Edge, or Safari |
Recommended System Requirements
| Component | Specification |
| Operating System | Windows 11 (64-bit), macOS 12+, Linux (Ubuntu 22.04+) |
| Processor | Intel Core i7 / AMD Ryzen 7 (6 cores, 3.0 GHz or higher) |
| RAM | 16 GB or higher |
| Storage | 20 GB free space (NVMe SSD recommended) |
| Graphics Card | Dedicated GPU with 4 GB VRAM (NVIDIA GTX 1650 or equivalent; CUDA support is a plus) |
| Internet Connection | High-speed broadband (50 Mbps or higher) |
| Browser | Latest version of Chrome, Firefox, Edge, or Safari |
Additional Considerations
- Cloud-Based Usage: Lower requirements since processing occurs on remote servers.
- Local AI Models: Higher specs recommended, such as NVIDIA RTX 3060+ and 32 GB RAM.
- Development/API Use: Meeting the recommended specs ensures smooth integration.
Steps to Download and Install DeepSeek in Your PC/Laptop
Step 1: Download and Install Ollama
Deepseek AI requires Ollama, a platform that allows you to run AI models efficiently. Here’s how to install it:
Search for Ollama on Google or visit the official website: https://ollama.com/

Click the Download button on the homepage.
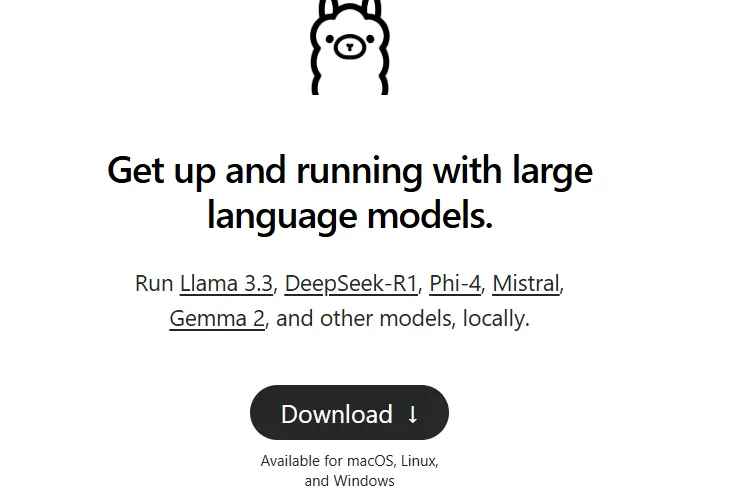
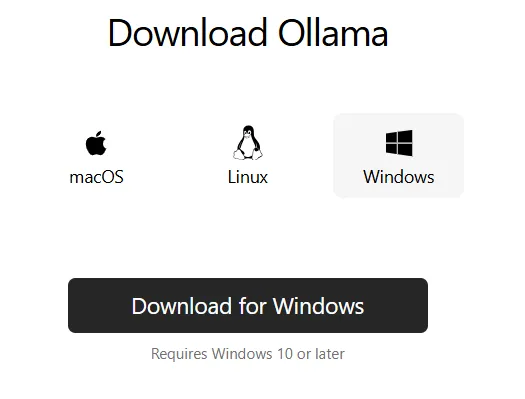
Choose the appropriate version for your operating system:
- Windows (Requires Windows 10 or later)
- macOS
- Linux
If you are using Windows, click “Download for Windows”.
After the file downloads, locate it in your Downloads folder.
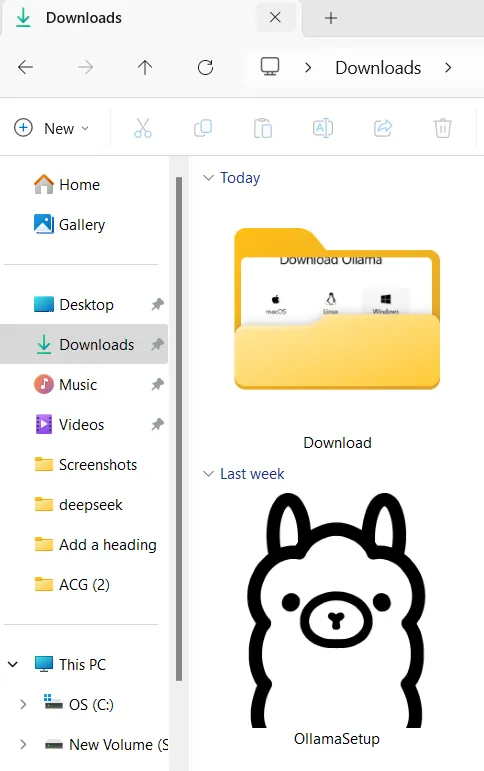
Double-click the ollamasetup.exe file to start the installation.
Click Install, then wait for the installation to complete.
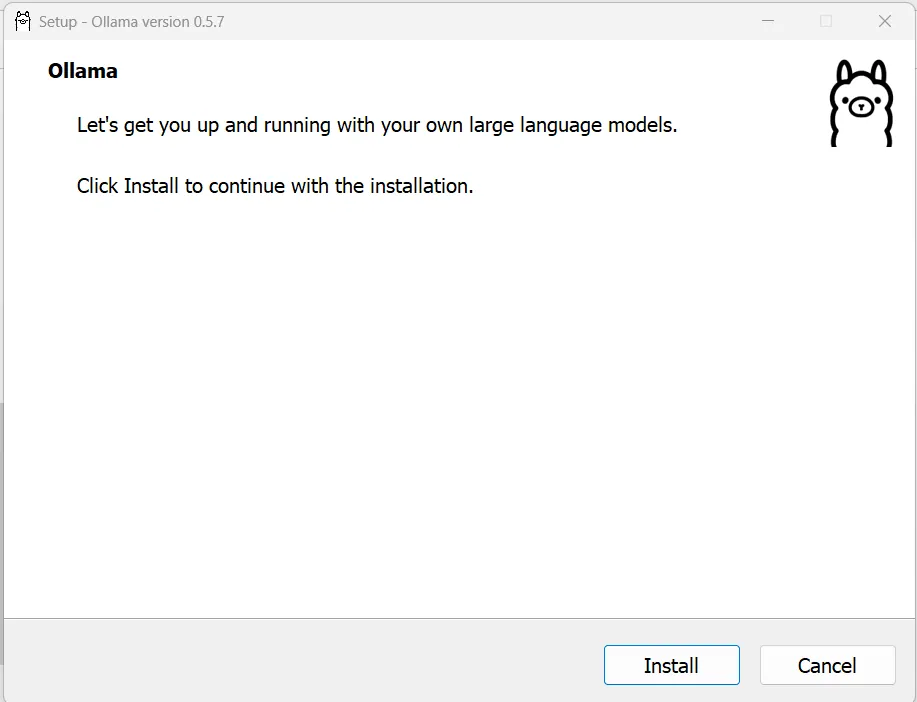
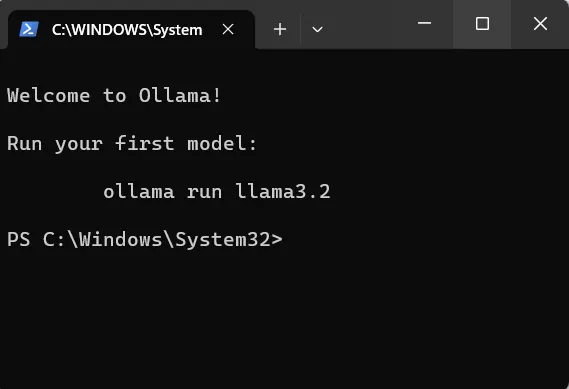
Once installed, Ollama will automatically open PowerShell, or you can open Command Prompt manually.
Step 2: Install and Run DeepSeek
Now that Ollama is installed, we need to install the Deepseek AI model. Different versions of Deepseek come with varying sizes and capabilities. Choose the version that fits your system’s storage and processing power.
Here are the available Deepseek versions and their storage requirements:
- Deepseek-R1:1.5B (1.1GB Storage)
ollama run deepseek-r1:1.5b - Deepseek-R1:7B (4.7GB Storage)
ollama run deepseek-r1:7b - Deepseek-R1:8B (4.9GB Storage)
ollama run deepseek-r1:8b - Deepseek-R1:14B (9GB Storage)
ollama run deepseek-r1:14b - Deepseek-R1:32B (20GB Storage)
ollama run deepseek-r1:32b - Deepseek-R1:70B (43GB Storage)
ollama run deepseek-r1:70b - Deepseek-R1:671B (404GB Storage)
ollama run deepseek-r1:671b
For this guide, we’ll install the Deepseek-R1:1.5B model since it requires only 1.1GB of storage and is a great starting point:
In PowerShell put the prompt : ollama run deepseek-r1:1.5b

Let the installation complete—it may take a few minutes depending on your internet speed.
Step 3: Download and Install Chatbox
To interact with Deepseek in a user-friendly way, we need to install Chatbox, a desktop application that connects to Ollama.
Steps to Install Chatbox:
Visit the official Chatbox website: https://chatboxai.app/en
Click on the “Free Download (for Windows)” button.

If you prefer, select “Manual Download for Windows (PC)”.
Once the file is downloaded, locate it in your Downloads folder.
Double-click the Chatbox setup file.
Select “Only for Me”, then click Next.
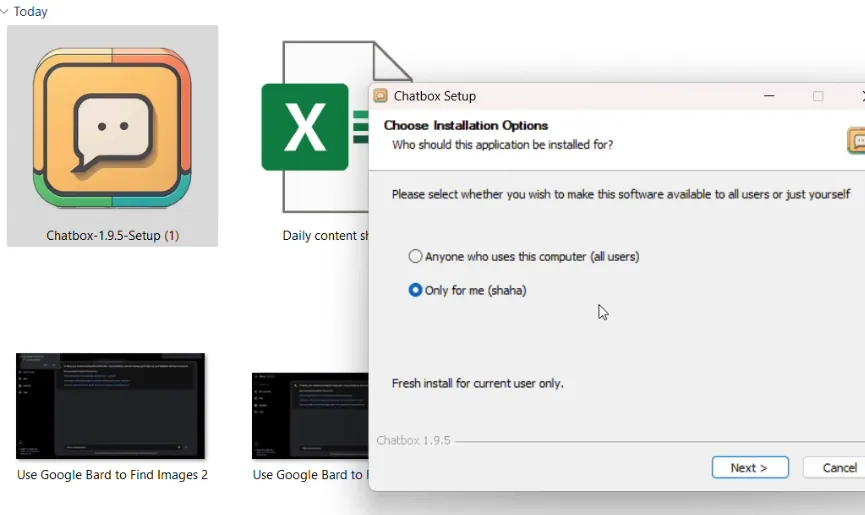
Follow the installation prompts to complete the process.
After installation, Chatbox will be ready to use.
Step 4: Configure Chatbox with Ollama API
Now, let’s set up Chatbox to use Deepseek through Ollama:
Open Chatbox.
Navigate to Settings.
Select Ollama API as the chat system.
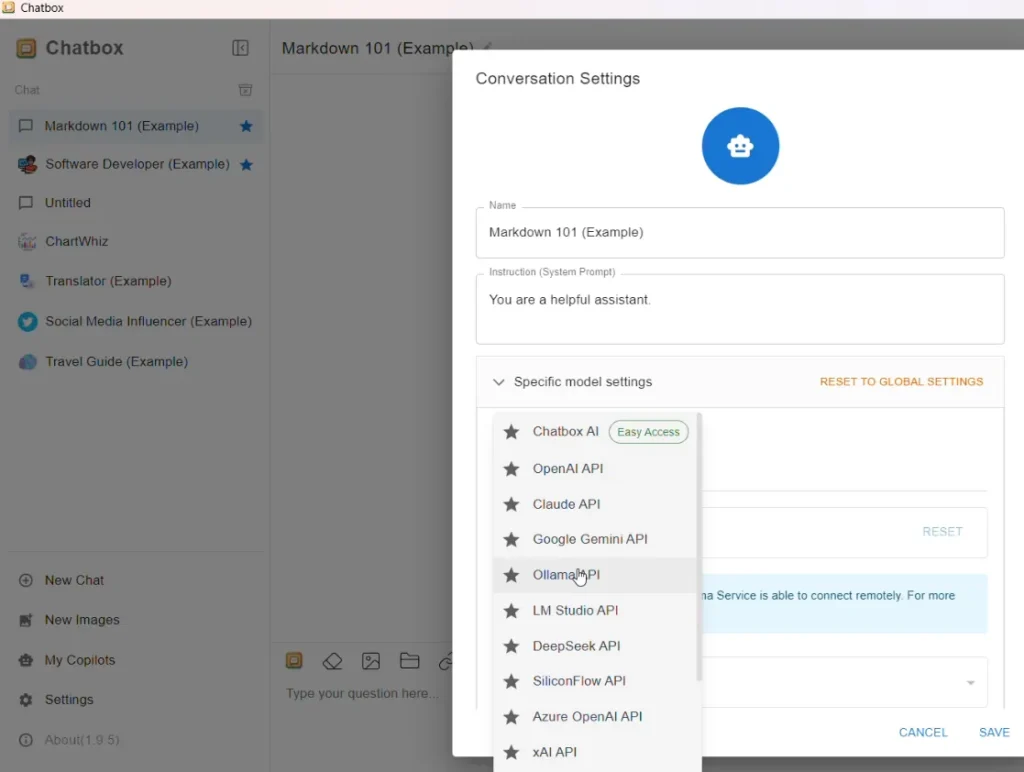
Now, your Deepseek model is successfully integrated with Chatbox!
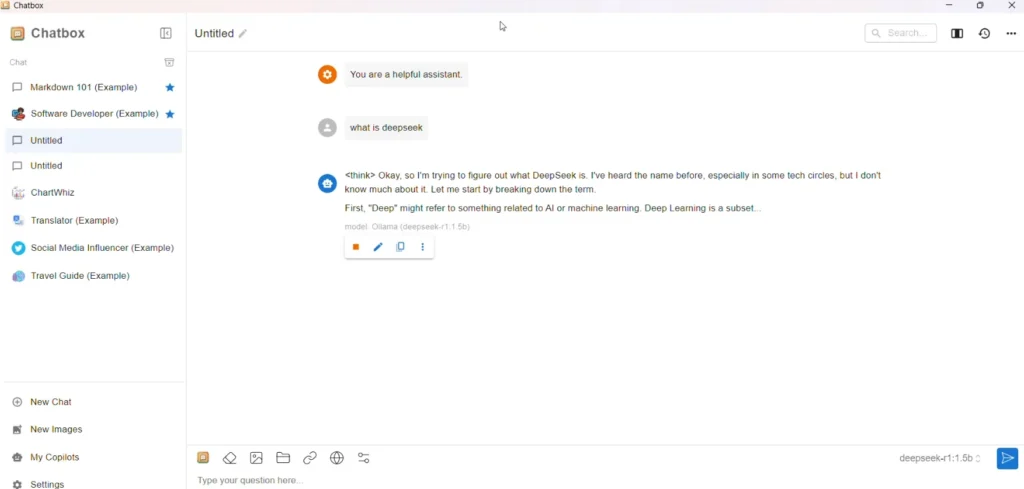
Step 5: Test the Setup Without Internet
Once Deepseek AI is installed, you might wonder: Can I use it without an internet connection? The answer is yes!
To test your setup offline:
- Disconnect your internet connection (Turn off WiFi or unplug your Ethernet cable).
- Open Chatbox app.
- Run the Deepseek model as default api.
- If everything is set up correctly, Deepseek will start generating responses even without the internet!
- Open Chatbox and test it by entering a prompt. Deepseek should still function.
This confirms that your setup is completely offline-capable, making it a reliable AI assistant without needing an active internet connection.
Why This Setup is Awesome
1. Your Data Stays Private and Secure
One of the biggest advantages of this setup is that your data never leaves your computer. Unlike many cloud-based services where your information is sent to remote servers, everything here happens locally on your machine.
This means you don’t have to worry about your sensitive data being accessed, stored, or misused by third parties. It’s just you and your computer—complete privacy is guaranteed.
2. Works Offline, Anytime, Anywhere
Once you’ve got everything set up, you don’t need an internet connection to use the AI model. This is perfect for situations where you’re offline, traveling, or just don’t want to rely on an internet connection. You can access the AI’s capabilities whenever you need them, without worrying about connectivity issues or data usage.
3. Tailored to Your Hardware
Not everyone has the same kind of computer or hardware, and this setup takes that into account. You can choose from different model sizes depending on what your machine can handle.
If you have a high-performance computer, you can go for larger, more powerful models. If your hardware is more modest, you can opt for smaller, lightweight versions that still deliver great results. This flexibility ensures that the setup works smoothly for you, no matter what kind of system you’re using.
4. Open Source and Fully Transparent
Everything in this setup is built on open-source tools. This means you have full access to the code and can see exactly how everything works under the hood.
There are no hidden processes or black-box algorithms—just complete transparency. Plus, because it’s open source, you’re free to modify, tweak, or customize the setup to suit your needs. You’re in full control, and you don’t have to rely on proprietary software or services.
Tips for Getting the Best Performance
Pick the Right Model for Your Machine
Not all AI models are created equal, and the one you choose should match your computer’s capabilities.
If you’re working with a high-performance machine that has plenty of RAM and a powerful processor, you can go for larger models like the 7B or 14B parameter versions. These bigger models tend to be more accurate and deliver better results because they’ve been trained on more data.
On the other hand, if your hardware is more modest, smaller models will still work well and won’t slow down your system. It’s all about finding the right balance between performance and what your computer can handle.
Use a Virtual Environment for Python Libraries
When you’re installing Python libraries for this setup, it’s a good idea to use a virtual environment. Think of a virtual environment as a clean, isolated workspace for your project. It prevents any conflicts between the libraries you’re using here and those you might have installed for other projects. This way, you can avoid messy issues like version mismatches or broken dependencies. Setting up a virtual environment is simple and can save you a lot of headaches down the road.
Play Around with Your Prompts
The way you phrase your prompts has a huge impact on the quality of the AI’s responses. If you’re not getting the results you want, try tweaking your wording or being more specific in your instructions.
For example, instead of asking a vague question, you might get better results by providing more context or breaking your request into smaller steps. Don’t be afraid to experiment—sometimes a small change in how you ask can lead to much better outputs.
What’s Coming Next?
This setup is just the starting point. There’s so much more you can do to take your local AI system to the next level. In future tutorials, I’ll dive into advanced topics like:
- Retrieval-Augmented Generation (RAG): This technique allows your AI to pull in information from external sources, making it even smarter and more capable of answering complex questions.
- Adding Internet Search Capabilities: Imagine being able to integrate real-time internet searches into your local AI system. This would give you the best of both worlds—privacy and access to up-to-date information.
Final Thoughts
Setting up a local AI system with DeepSeek R1 distilled models is a game-changer for anyone concerned about data privacy. With this setup, you can harness the power of AI without compromising your security. Whether you’re a developer, researcher, or just an AI enthusiast, this guide provides everything you need to get started.
So, what are you waiting for? Dive in, set up your local AI, and start exploring the possibilities.
Frequently Asked Questions
Is DeepSeek AI free to use?
Yes, you can install and run DeepSeek AI for free. However, ensure that your system meets the necessary storage and processing requirements.
Can I install Deepseek AI on macOS or Linux?
Yes! The installation process for macOS and Linux is similar, and you can download Ollama from its official website for your respective OS.
How much storage do I need for DeepSeek AI?
The storage requirement depends on the version you install. The smallest version (1.5B) requires 1.1GB, while the largest (671B) requires 404GB.
Does DeepSeek AI require an internet connection?
No, once installed, DeepSeek AI can run completely offline.
Can I uninstall DeepSeek AI if needed?
Yes, you can uninstall DeepSeek AI by deleting the installed model files and uninstalling Ollama and Chatbox if you no longer need it.
