Offline Gmail is an excellent feature that allows users to access their emails if they’re not connected to the internet. This is useful if you’re traveling or don’t have access to an electrical outlet.
In the modern days, Gmail is an essential tool for official work as well as non-official work. According to News18 reports, 1.8 billion people are using Gmail services, and more than 80% of users are active users.
Recently to help the users, Google announced that from now on, you could access your Gmail without an internet connection.
It’s a useful feature for those on a flight or traveling without an internet connection. They can search and read all the messages, or you can also respond to them if needed.
Don’t worry; the process to enable the offline mode is quite simple; anyone can learn it after reading this article.
Table of Contents
What to Do Before Enable the Offline Gmail Features
First, you need to set up your Gmail ID; to do that, you need a stable internet connection. After that, you can enable the offline Gmail feature.
Once you enable it, you can check and delete all the emails. But if you respond to any emails, they will be forwarded after connecting to a stable internet connection.
It’s a friendly suggestion; feel free to take it or skip it; for security reasons, never open your mail ID on a public computer. You might have heard that emails are stored in the browser storage, so if you forget to remove the mail ID, then anyone can get access to it.
Set Up the Offline Gmail Feature on a Computer
Previously, you needed to download the Chrome extension to set up the offline mode. Now, the developers made it simple for users to enable the offline feature. Just open the Gmail settings; from there, you can enable it.
- First, open Gmail, then look for the “Settings icon,” which is located in the top right corner, and tap on it.
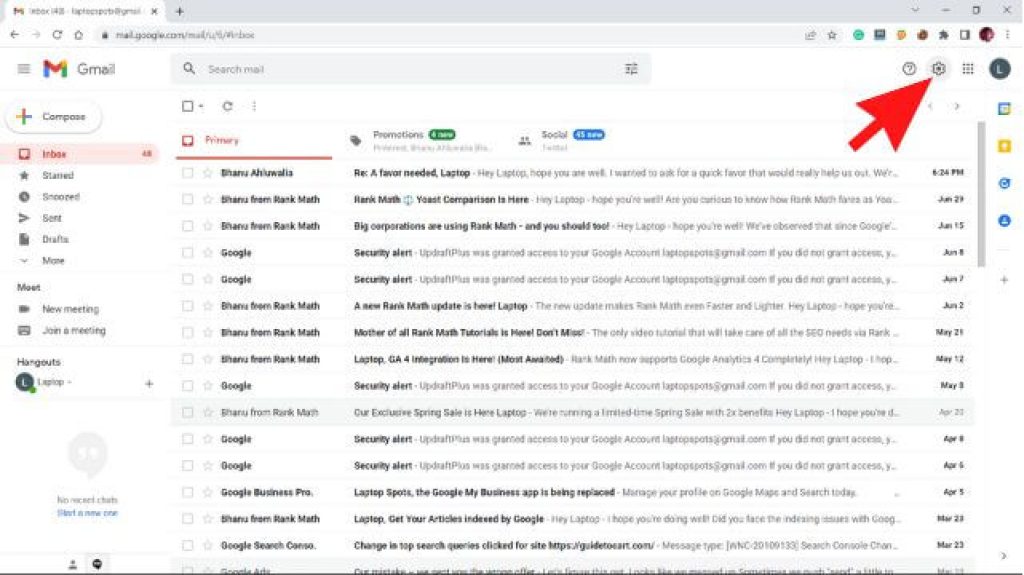
- After that, look for the “See all settings tab” which is located in the top right corner then tap on it.
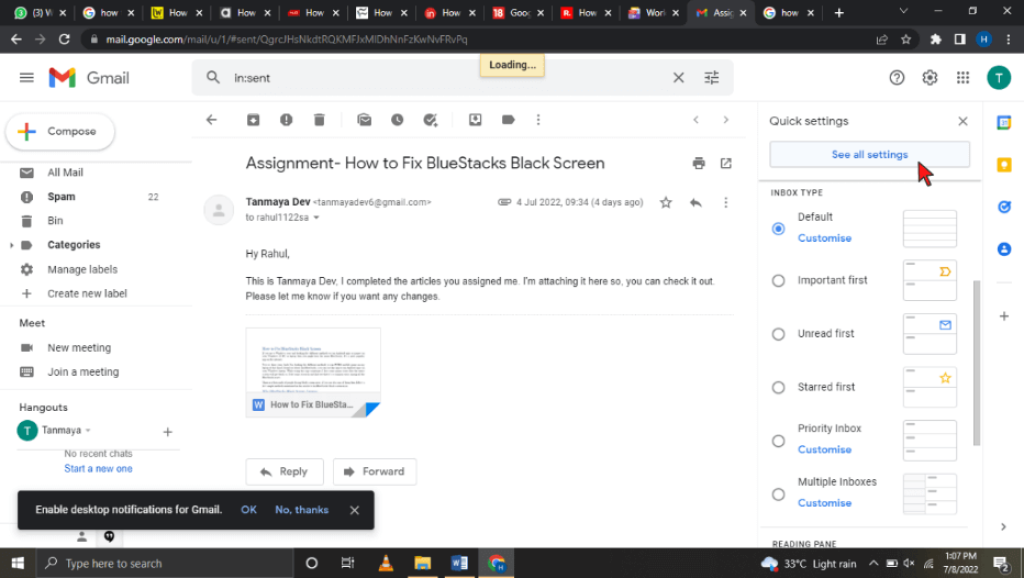
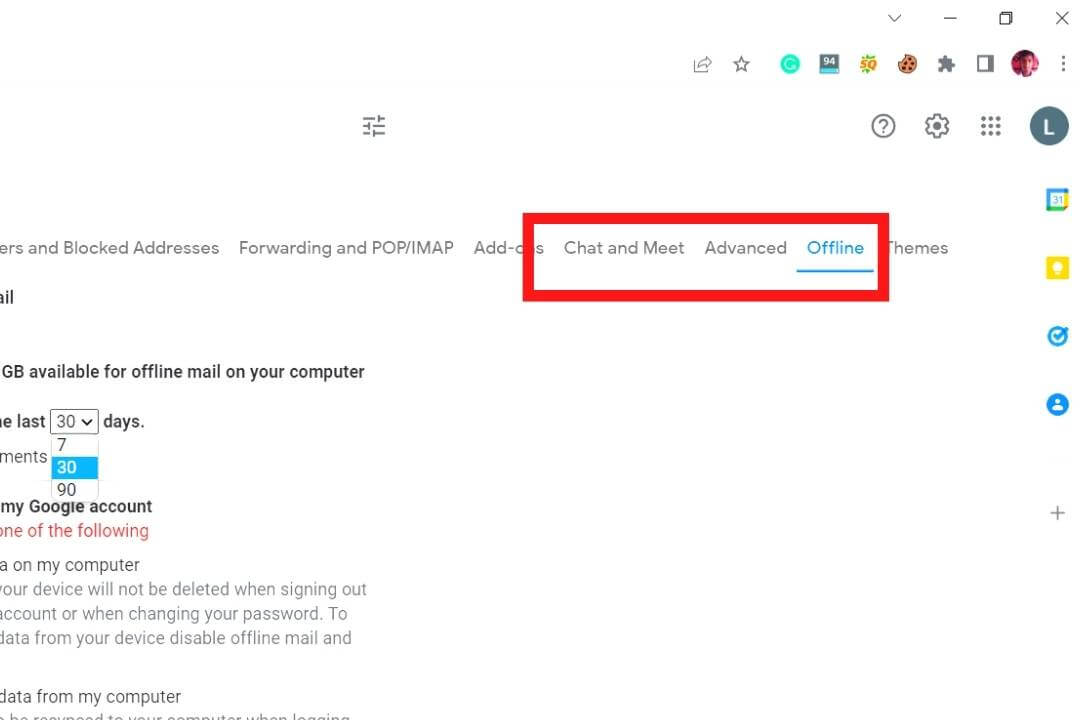
- Now, find the “Offline tab” then click on it.
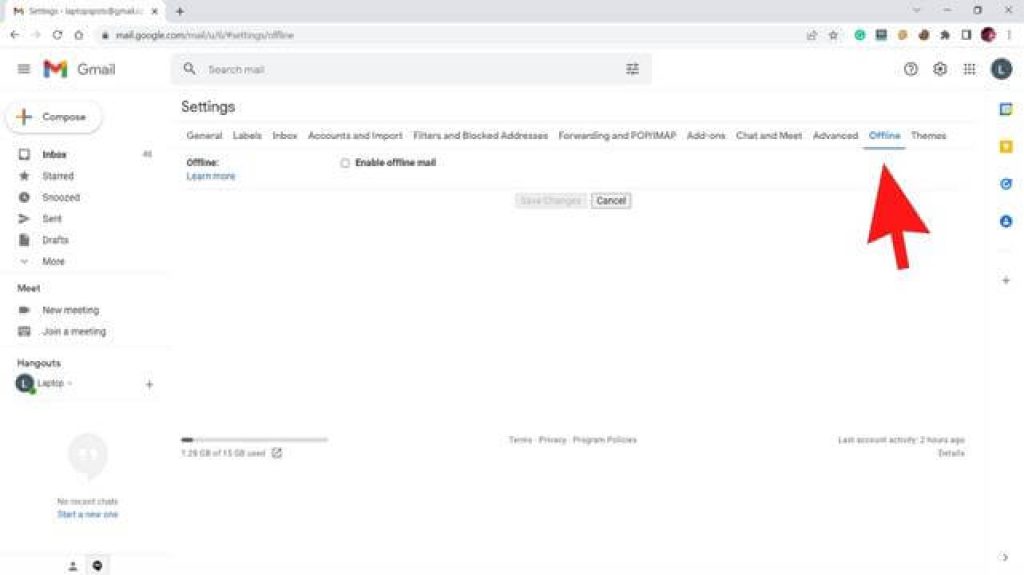
- Now, look for the “Enable offline mail” option then tap on it to activate the offline feature.
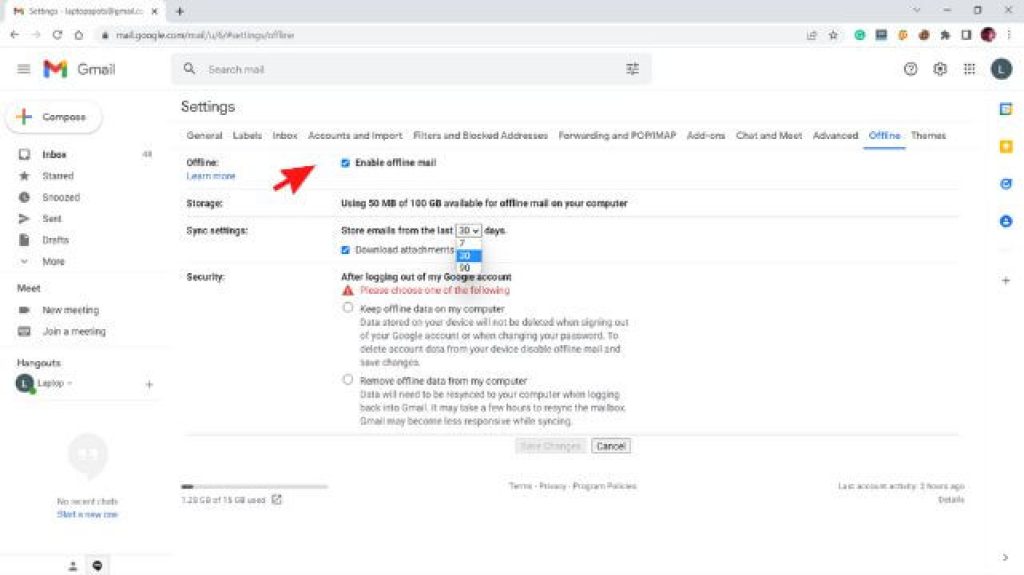
- After that, find the “Sync settings” section. Besides that, you can see an arrow mark on the “store emails from the last 7 days” option set it to 90 or 30 days. Here you have three options to choose 7, 30, and 90 days.
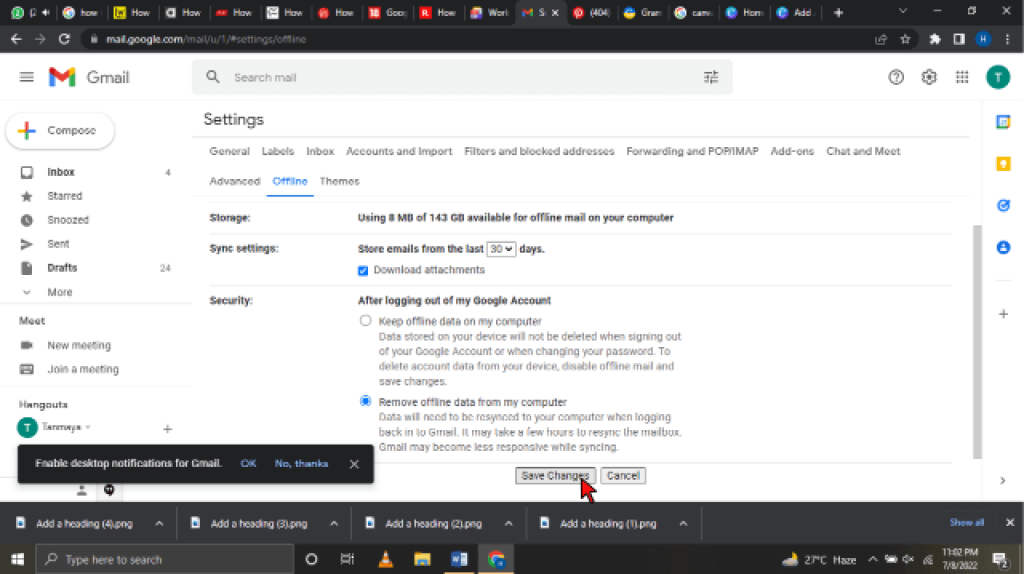
- After that, find the “Security” section. Besides that, you can see “After logging out of my Google account” below that, you can choose either one of the options and then tap on it.
- After completing all these steps, you can see a “Save Changes tab,” then click on it. Now you can access the Gmail account without an internet connection.
The process to enable the offline mode is the same on Mac, Chrome Book, Windows, and Linux, so whatever device you have, you can follow the method mentioned above.
Set Up the Offline Gmail Feature on an Android Devices
If you are an Android user, you can also enable the offline mode, but this feature is not available for iOS users. Below I mentioned a few simple steps to enable the Gmail offline mode.
- Open the Gmail app, and then on the top left corner, you can see three horizontal bars; tap on them.
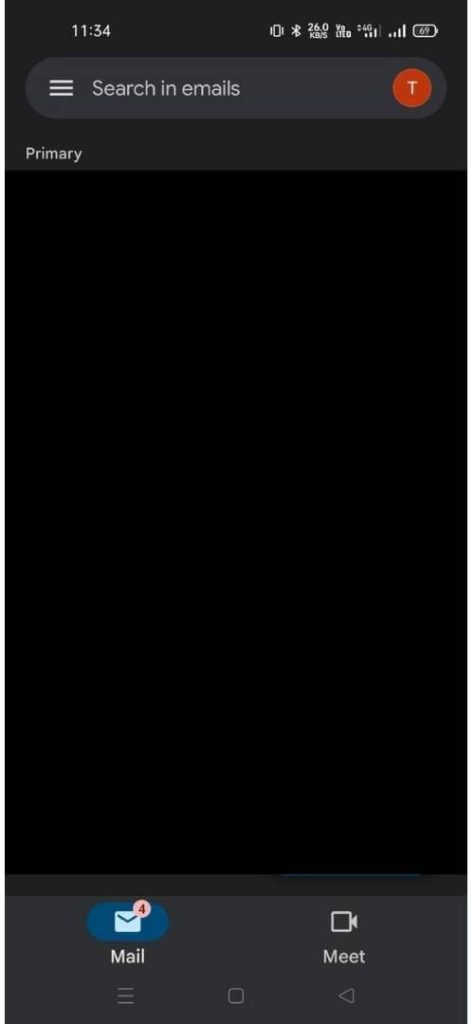
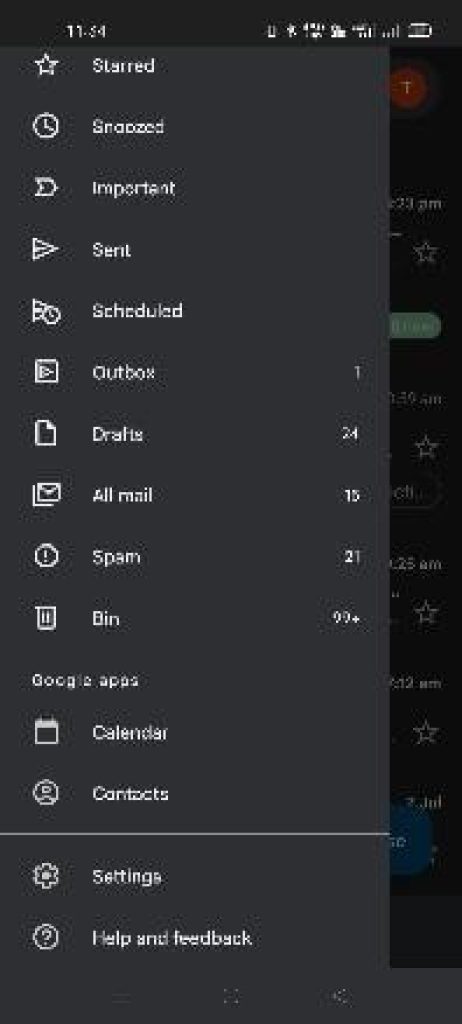
- Now, a menu will appear then scroll downwards to find the “Settings tab” and tap on it.
- After that, choose the Gmail account you want to enable in the offline mode.
- Now scroll downwards and look for the “Sync Gmail” option, then tap on it.
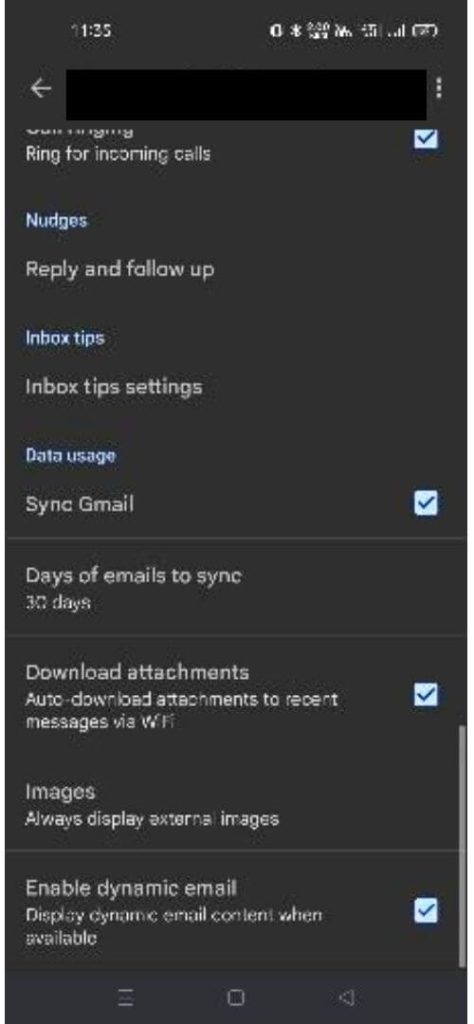
- Below the Sync Gmail option, you can see “Days of mail to sync” set the dates. For example; if you want to sync 30 days of data then you can just type 30 days.
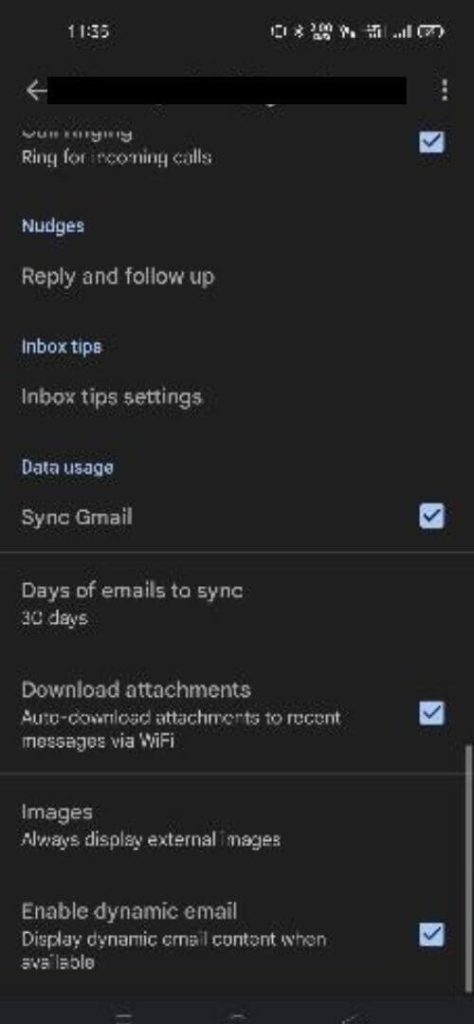
- Now, you can access the Gmail account on your Android device without the internet.
How to Access Gmail Offline
The process is quite simple if you want to access your offline Gmail. Follow the steps mentioned below to access the offline mode.
- First, open the Gmail account you are currently using.
- After that, bookmark the emails you want to check out on the offline mode. To do that, press the “CTRL button” and “D button” at the same time, then wait for a few seconds and press the “Enter” button. Now you can access your Gmail without an internet connection.
Also Read:
How to Delete the Cache on a Public Computer
I already mentioned that if you use a public computer to access the Gmail account, there are high chances of personal data being leaked or someone else accessing your account. You should remove the cache to prevent this type of issue after using a public computer. It will take just two steps to remove the cache.
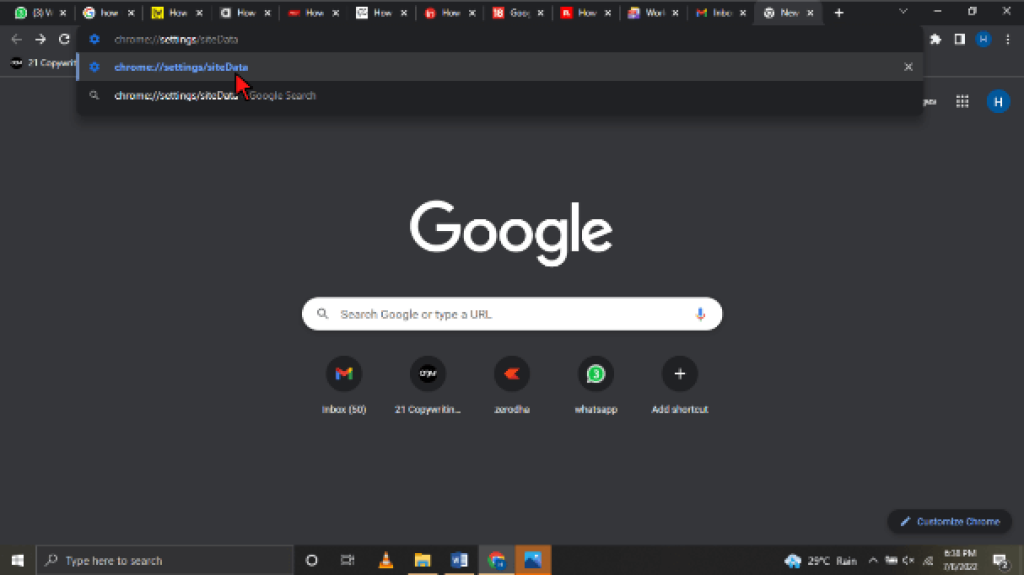
- First, open the Chrome browser, then look for the address bar to type the link “chrome://settings/siteData” and press the “Enter” button.
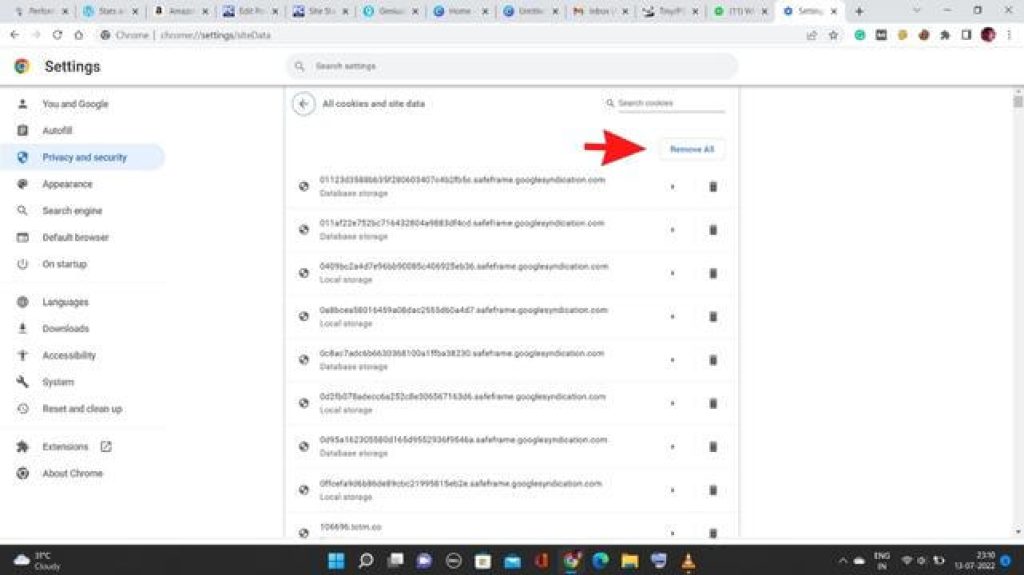
- The link will redirect to the Chrome Settings window then look for the “Remove All” tab and click on it to delete the cache.
- Now your personal data is deleted from the browser but don’t forget to log out. Don’t you think the process is quite simple and that it will take just a minute to complete the process?
Final Words
In this article, we discussed how to enable offline Gmail. With the help of this guide, I’m sure you can enable the offline feature on your own. If you have any tech or gaming-related queries, feel free to tell us in the comment section.
